Do you ever have those days when your would-be scholars simply don’t want to write? Their pen-that’s-mightier-than-a-sword becomes a sword. Literally. Maybe you don’t. Your kids probably come to the school table with hair combed and pencils sharpened. But I have boys. Boys can find all kinds of uses for a pencil other than its intended use.
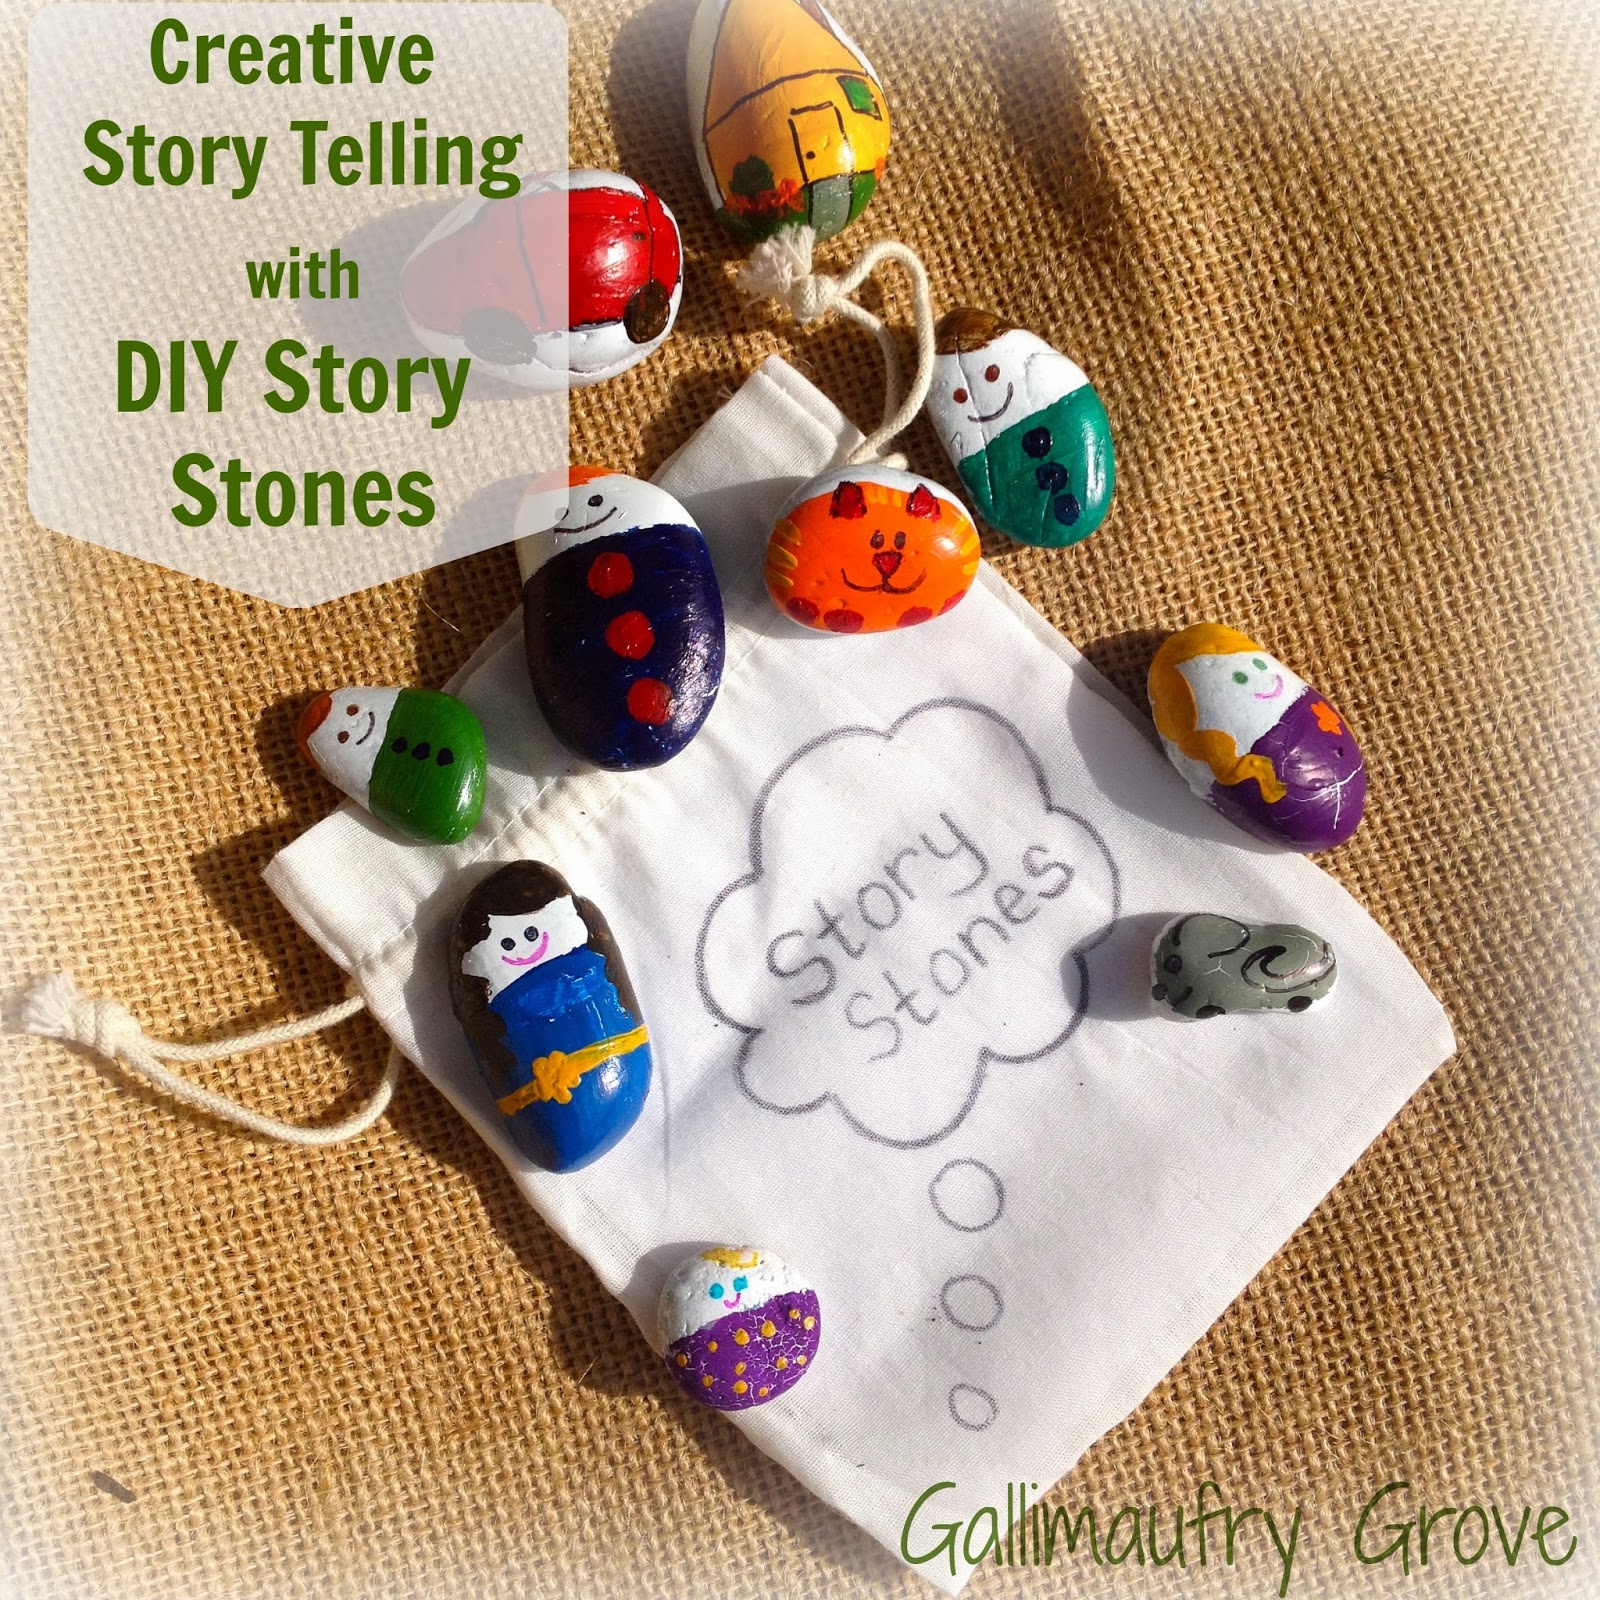
So what’s a desperate homeschool mom to do when it’s “one of those days” and her Creative Writing class has a leetle too much creative and way too little writing? It’s time to shake things up a bit. One way to bring your students back to the table is with Story Stones.
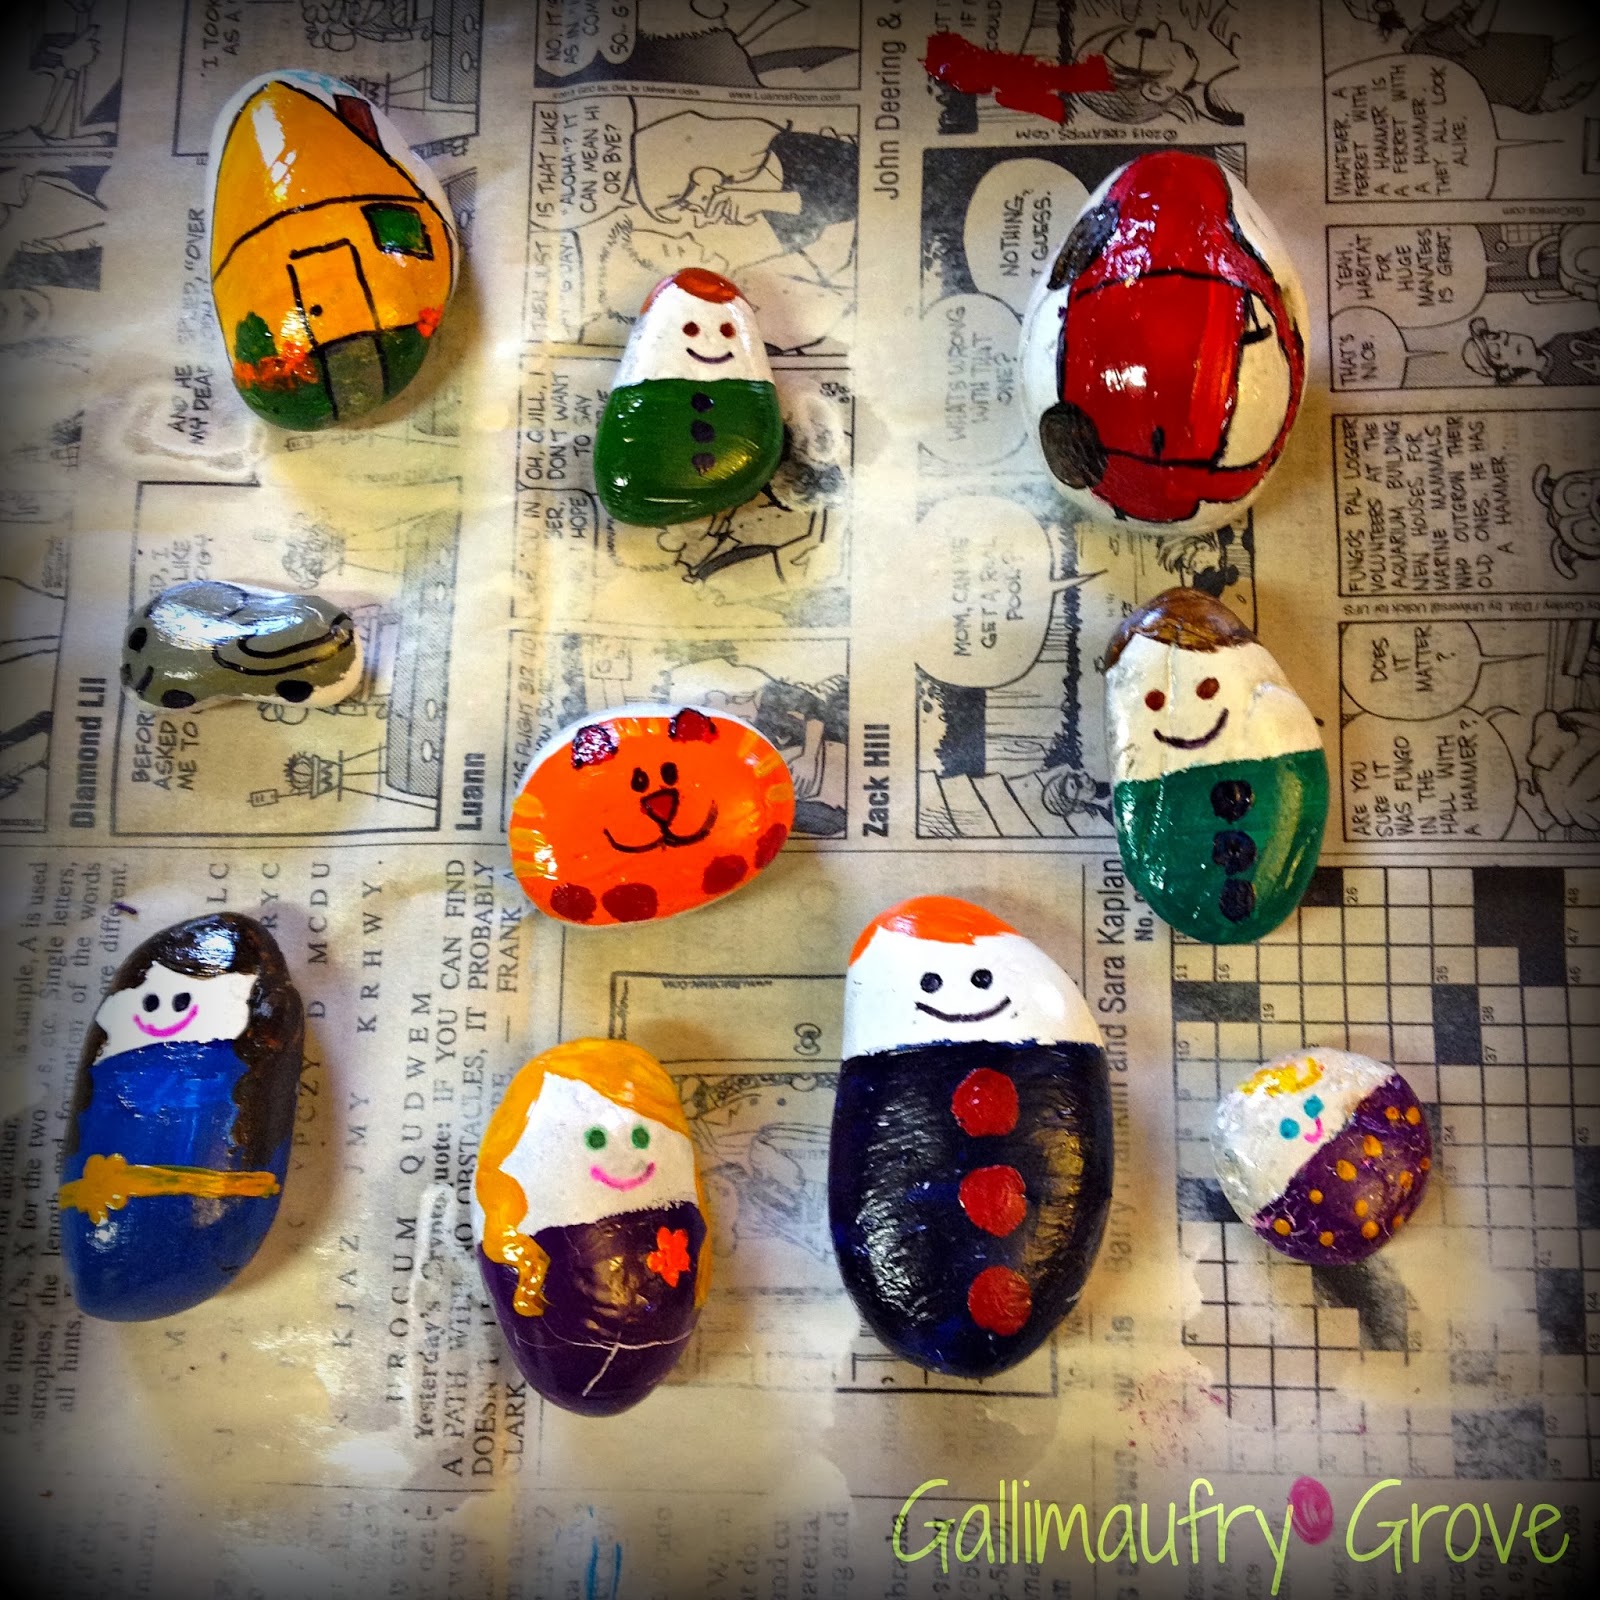
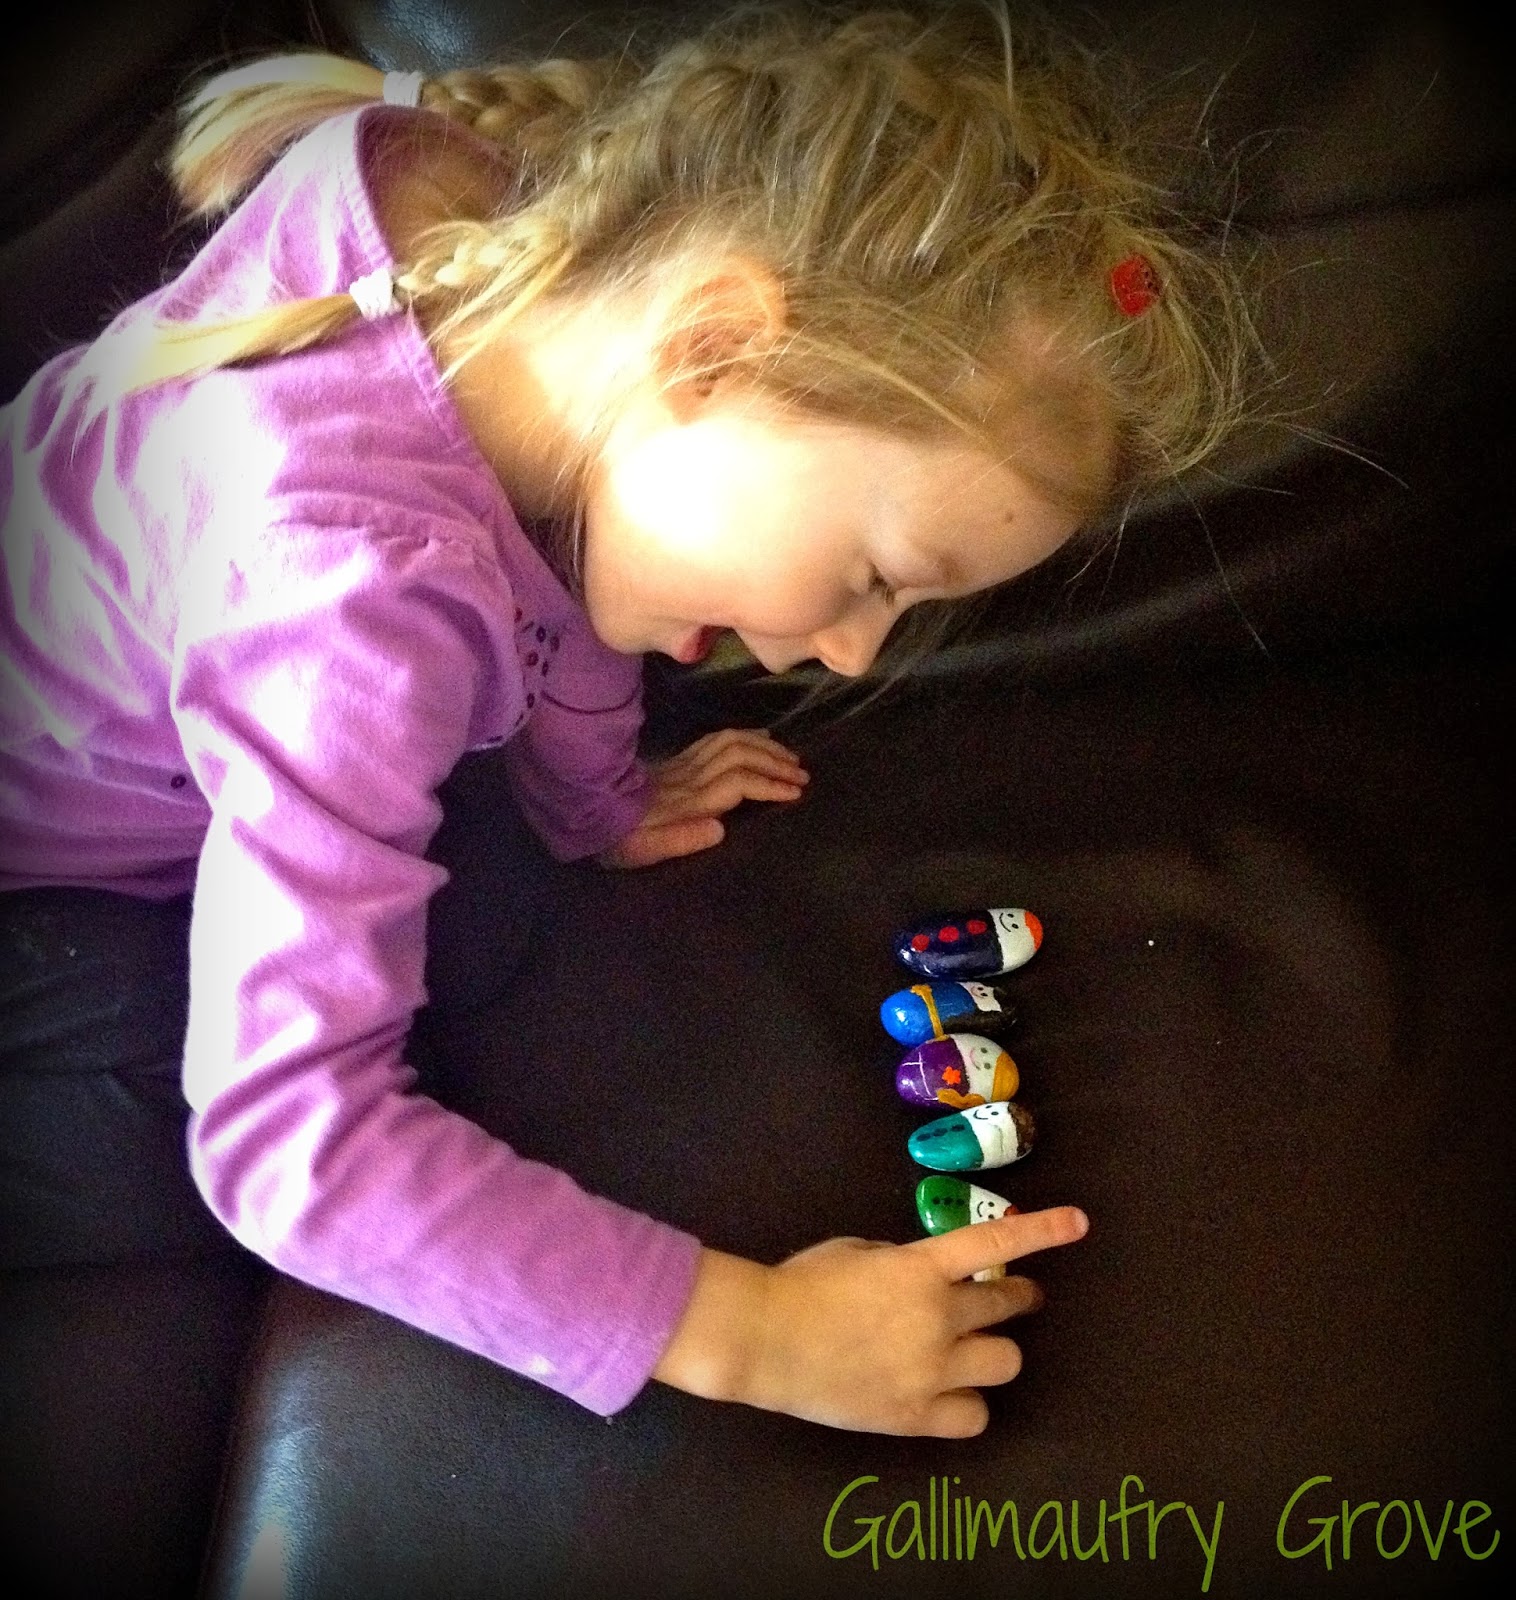
Story Stones are simply rocks that have been made to look like different objects for use in a story. They are easy to make and the uses are endless.
10 Ways to Use Story Stones
1. You can use them as story starters when your student has a case of writer’s block or just doesn’t really want to write. You can give your child a few stones and ask him to write about what’s happening.
2. If your child melts into a puddle at the idea of actually writing a story (!) your child can simply tell you the story. I promise, junior is still learning to think creatively, organize his thoughts, and communicate. Isn’t that what writing is all about, anyway?
3. You can give all the story stones to your child and just let her play and tell stories. This is how I use them with my pre-schooler. She loves to arrange and rearrange them, chattering about them the entire time.
4. You can give the bag of stones to an older sibling to use while telling stories to a younger sibling. This one is sneaky (I love pulling one over on my kids). Your younger child is thrilled. Your older child thinks she’s doing mom a favor by watching the wee one, and these cool rocks are helping her do it. But secretly, you are giving your big kid a Creative Storytelling Class. Snicker.
5. You can make them to match elements of a book you are studying. Books like Goodnight Moon or The Hungry, Hungry Caterpillar would be great for younger children. Or a book like Charlotte’s Web would be wonderful for an elementary student. You could make your story stones into Fern and the farm animals and have your child use them to retell the story Charlotte Mason style.
6. You could create themed stones to go along with a history study. For example, you could make Native Americans, deer, teepees and buffalo or you could study the Vikings with little round Viking men, ships and longhouses. By having your children use the stones, you can combine creative writing, storytelling and history all in one fell swoop.
7. For older students, you could use words instead of pictures. Include nouns, verbs, adjectives and adverbs. Your child can pull words out of the bag and try to incorporate them into a story. The story may end up being a little zany, but it will certainly be interesting.
8. For grammar study, you could make stones with root words, suffixes and prefixes. Your child can move different elements around to create new words.
9. Use words on story stones to practice the parts of speech. You could make stones with the names of the different parts of speech and multiple words for each part of speech. Then your child can try to match them up or use them to create sentences.
10. You can use them for target practice. No. I’m kidding about that one. Don’t give your kids any ideas. If your kids are like mine, they come up with plenty on their own.
It is super-easy to make your story stones. After you make a few, you will think of all kinds of ideas for more. The beauty of making your own is that you can tailor make them to suit the interests of your child. Is your child into Minecraft? Or Star Wars? How about sea creatures (we want to make some of those next)? You could make zoo or farm animals, or a princess and her castle. Anything that will get your child’s creative juices flowing would be great. Don’t worry if your stones don’t look exactly like what you are trying to portray. Part of the fun of story stones is how silly things look when turned into the shape of a rock.
If you can’t even draw a circle, that’s okay. I will give you an option for the “artistically challenged” a little later.
How to Make Your Own Story Stones
What you will need:
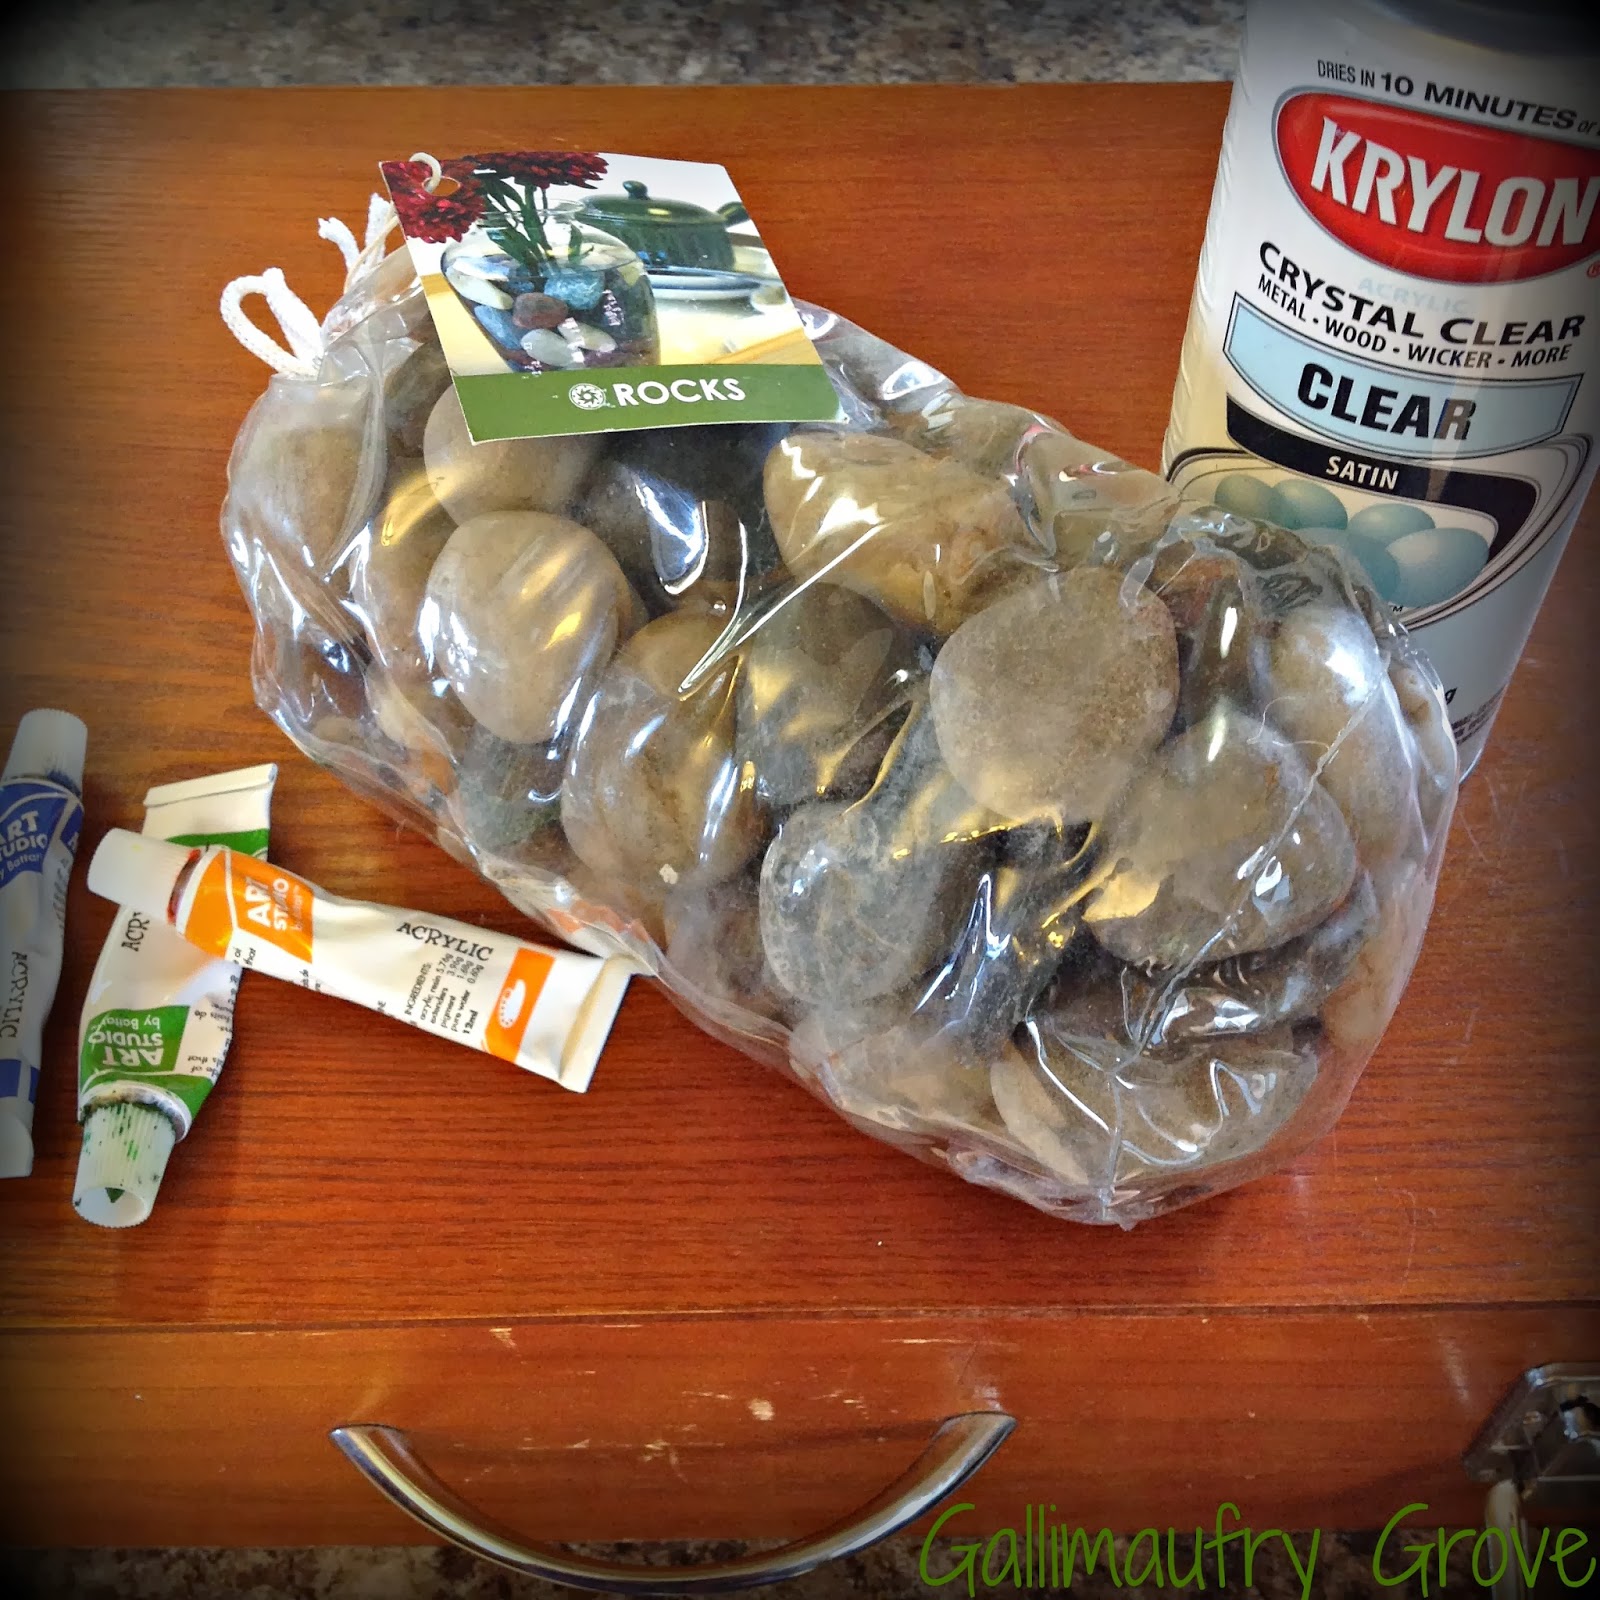
Rocks — Smooth stones are best because they are easier to paint and less likely to scratch tables, etc. I bought mine at Walmart for about $4 and I still have plenty left over for more story stones.
Acrylic paints — a selection of colors. You could use oils, but they would take forever to dry and who has time for that?
White paint — Optional, but the colors will be brighter if you paint the rocks white first. I used white spray paint because it was fast, but the acrylic paint didn’t go on as well as I would have liked. It worked anyway, but sometimes I had to give it a second coat. You could use acrylic paint and avoid that.
Clear Coat Polyurethane — I used Kryon Crystal Clear Spray, available at Walmart. Optional: Sharpies for fine details.
Small paint brushes and newspaper
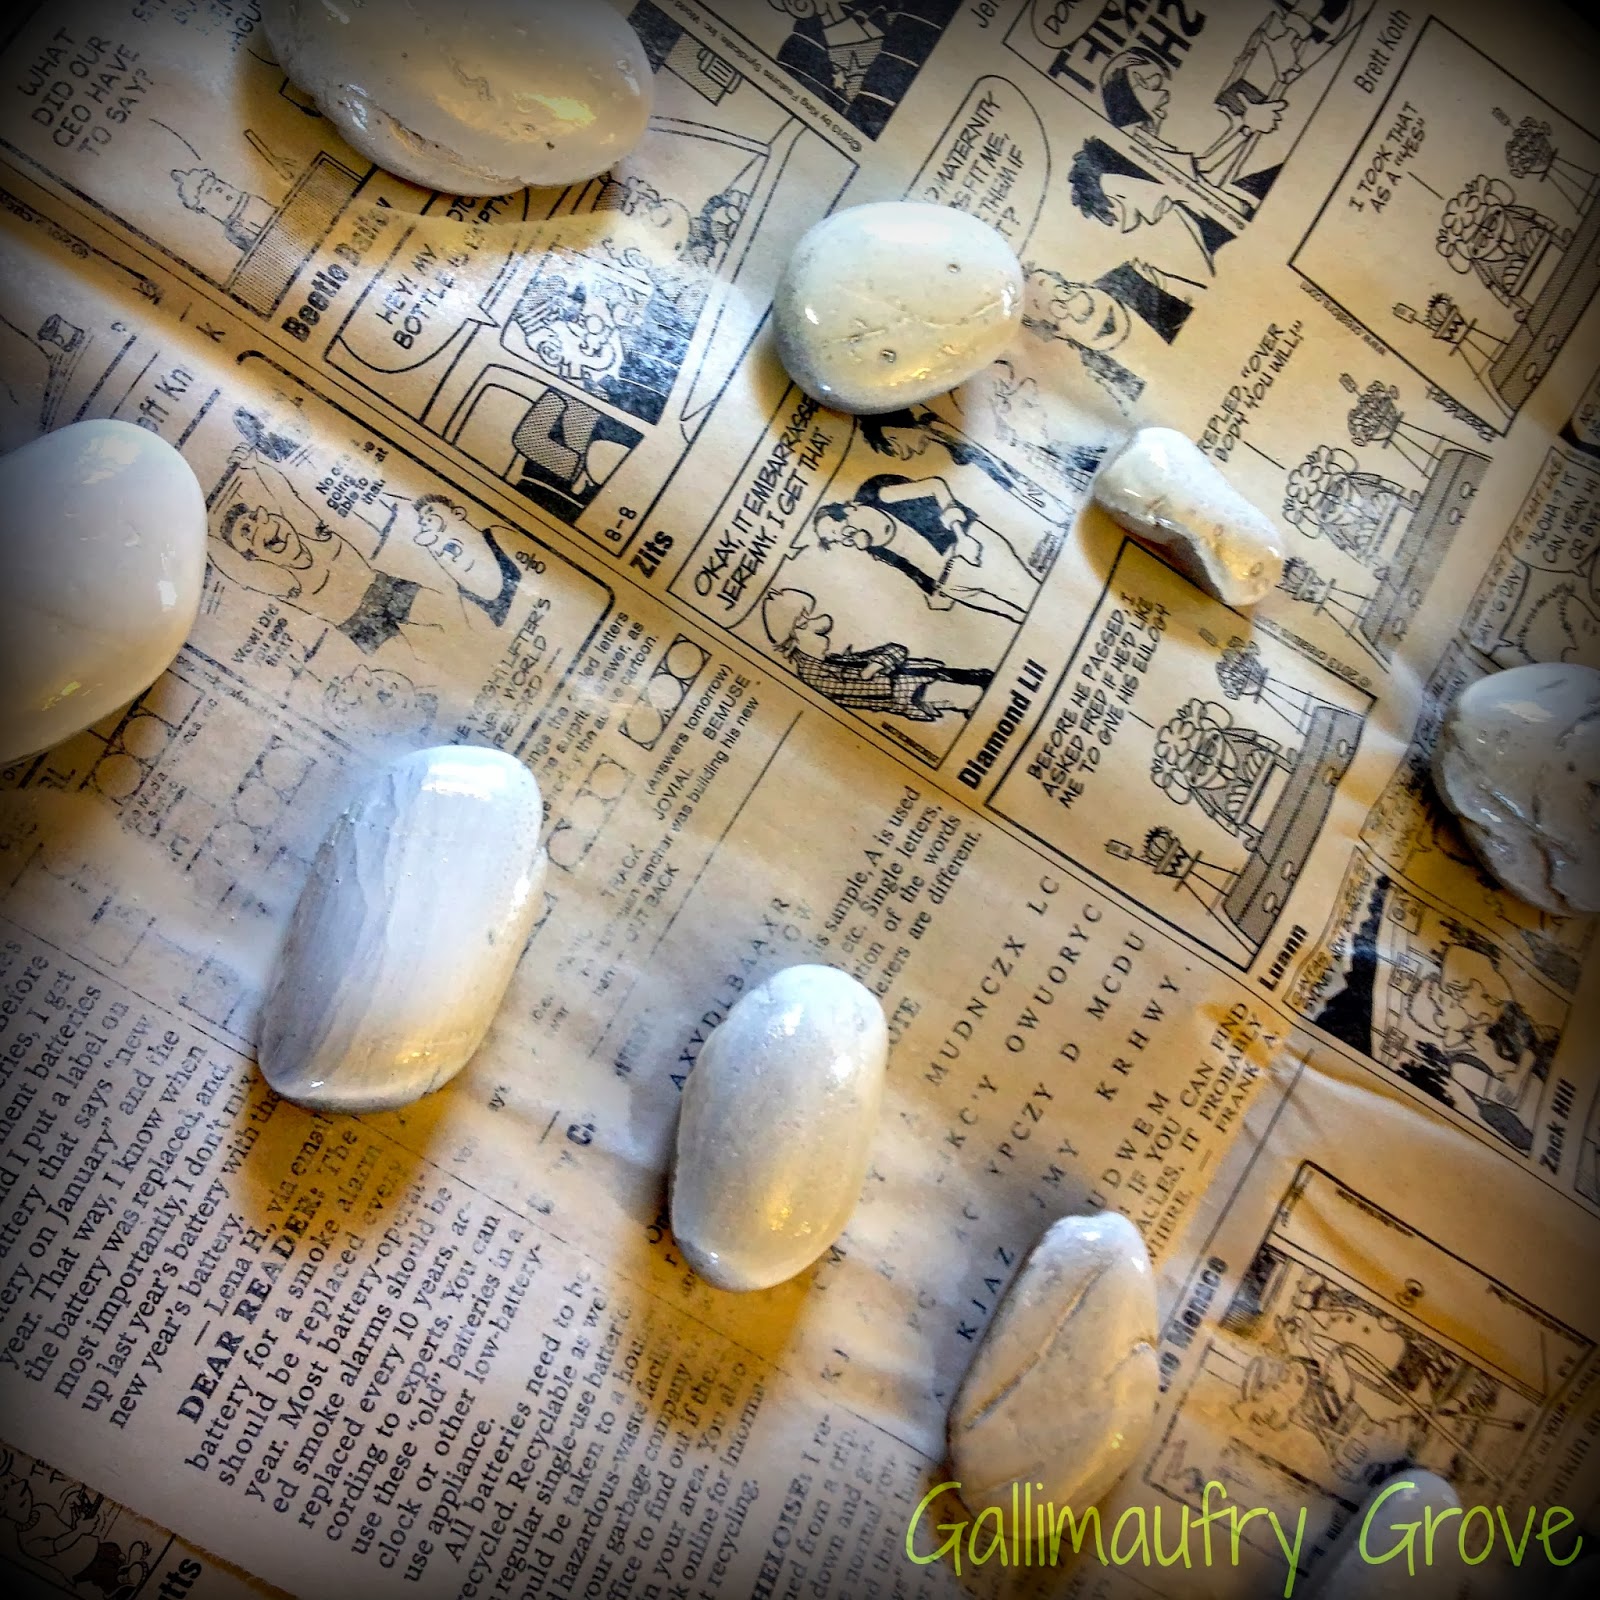
Give your stones a good coat of white paint. Allow to dry. This step is not necessary, as we said before, but it will give you much brighter colors.

Paint your pictures. I started off penciling in the outlines first, but after the first few, I just did them free hand. Paint your colors on in layers, allowing each layer to dry before you start the next color. This will keep the colors from bleeding and keep them vibrant. For finer details, like faces, I used a sharpie. They come in lots of colors and are easier to control than a paint brush.
For the Artistically Challenged: Instead of painting your story stones, clip pictures from magazines or the web. Grab a little Mod Podge or glue and glue them onto your stones. Allow to dry. This would be an easy way to make stones to accompany a story book. Just reduce the picture size on your scanner or printer to make them small enough for your rocks. It might be fun to use family photos, too.
Once your rocks are dry, protect them by spraying with Clear Coat. Squirt, Squirt, Done. Allow your story stones to dry thoroughly while your preschooler asks every 2 minutes, “Are they dry yet?” Grab a little bag for storage and you’re ready to go. Once you get started with story stones, you will find all kinds of fun ways to use them.

Angela Horton is a pastor’s wife, mother to four energetic kids ranging in ages from 16 to 3 years old, crafty girl, traditional foods cook, homesteader wanna-be and has been homeschooling her brood for over 13 years.
1 thought on “Creative Story Telling with DIY Story Stones”