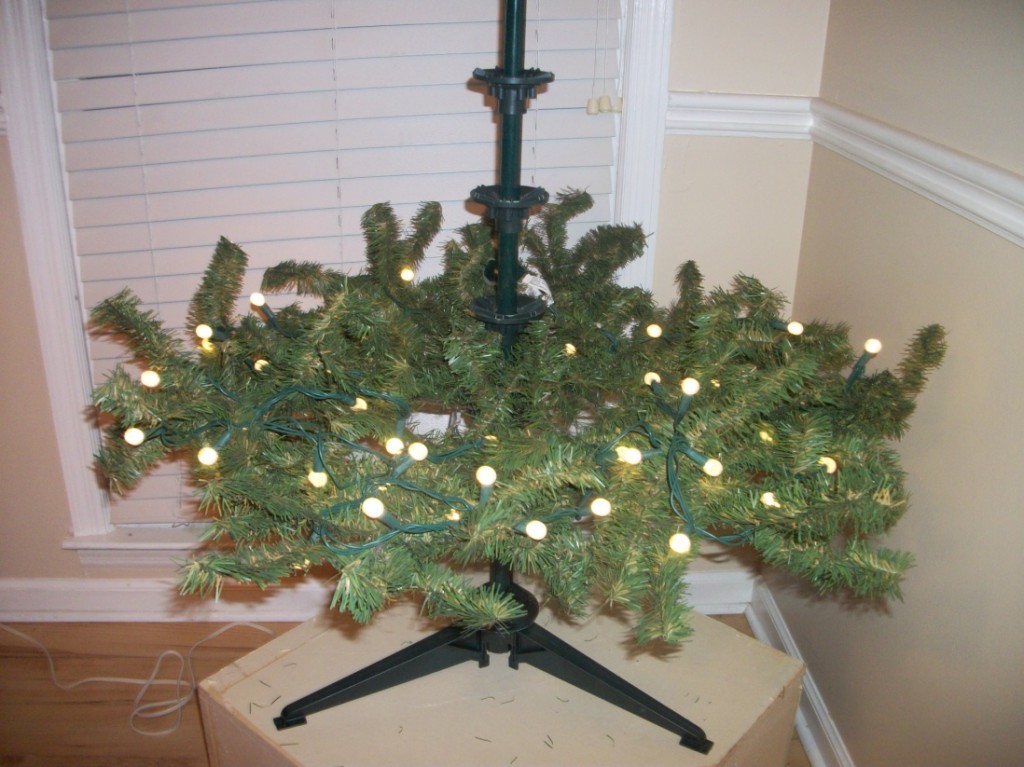
1. Wear gloves. Artificial or Real tree…both can really scratch up your hands.
2. Fluff the greenery. Your poor tree has been crammed in a box for the last 11 months…give it new life by spreading out the branches so it looks full.
3. Use a paper towel holder to hold your lights. I don’t remember where I got this idea…but I’ve been doing it for years. It keeps your lights out of a tangled mess while in storage, but it also helps as you put the lights on the tree.
4. Take inventory of your lights, etc. as you are putting decorations away for the season. If new lights, etc. are needed, NOW is the time to purchase them. (They’ll be a lot cheaper, too!) Add the new lights to your Christmas storage boxes. You will thank yourself come Christmastime 2013!
5. Give your tree a lift. If you have a less than 6 foot tree like us, a wooden box stand is a great way to give it more presence! My dad made this one for us.
6. Put lights throughout your tree. If your tree is like mine, you can add lights as you add branches. Weave lights along each branch—back to front. I’ve even seen the trunks of trees wrapped in lights. This really makes your tree look so professional and beautiful! (Note: This was my first year to use the larger bulbs on my tree…and I discovered not as many lights are needed. It was overkill. The wrapping of individual branchesworks best for the incandescent white lights most people use.)
7. Add a unique garland. The two larger trees in our home have garland. The “fancy mommy” tree (as my boys call it) has a white/clear beaded garland. The family tree has a red wooden beaded garland.

8. Use “filler”. The tree I use in our dining room is a cheap tree I purchased after Christmas years ago. I paid $4 for it. The key to making it look good is the filler. I use a variety of things one could easily purchase at a craft store. Choose filler that works with your color scheme/theme. Think outside the box; don’t just look in the Christmas section.
 Letha Paulk is a homeschool mama and pastor’s wife–two of the most wonderful and most challenging callings God has given her to date! Things she loves: GOOD coffee, 70% dark organic chocolate, a Jane Austin flick with her hubby, watching her children read and taking part in God’s Kingdom work. Letha blogs at justpitchingmytent.
